Stop spending hours on tasks these five libraries handle in five lines.
Most Python tutorials hand you the same stack every time. Pandas, NumPy, matplotlib, scikit-learn – and that is it. You learn to build models, and somewhere along the way, the assumption is that everything in between will just sort itself out.
It does not.
The real bottleneck in most data science work is not the modeling. It is everything that surrounds it.
Output:
-
Check for missing data.
-
Create features from scratch.
-
Visualize what your model learned.
-
Tune hyperparameters manually since there’s no better choice.
That is where projects slow down and deadlines get missed.
There are libraries built specifically to solve these things. Most of them do not show up in beginner courses because they are not dramatic enough no flashy model output, no impressive accuracy number. But working data scientists reach for them constantly, and once you start using them, the manual approach stops making sense.
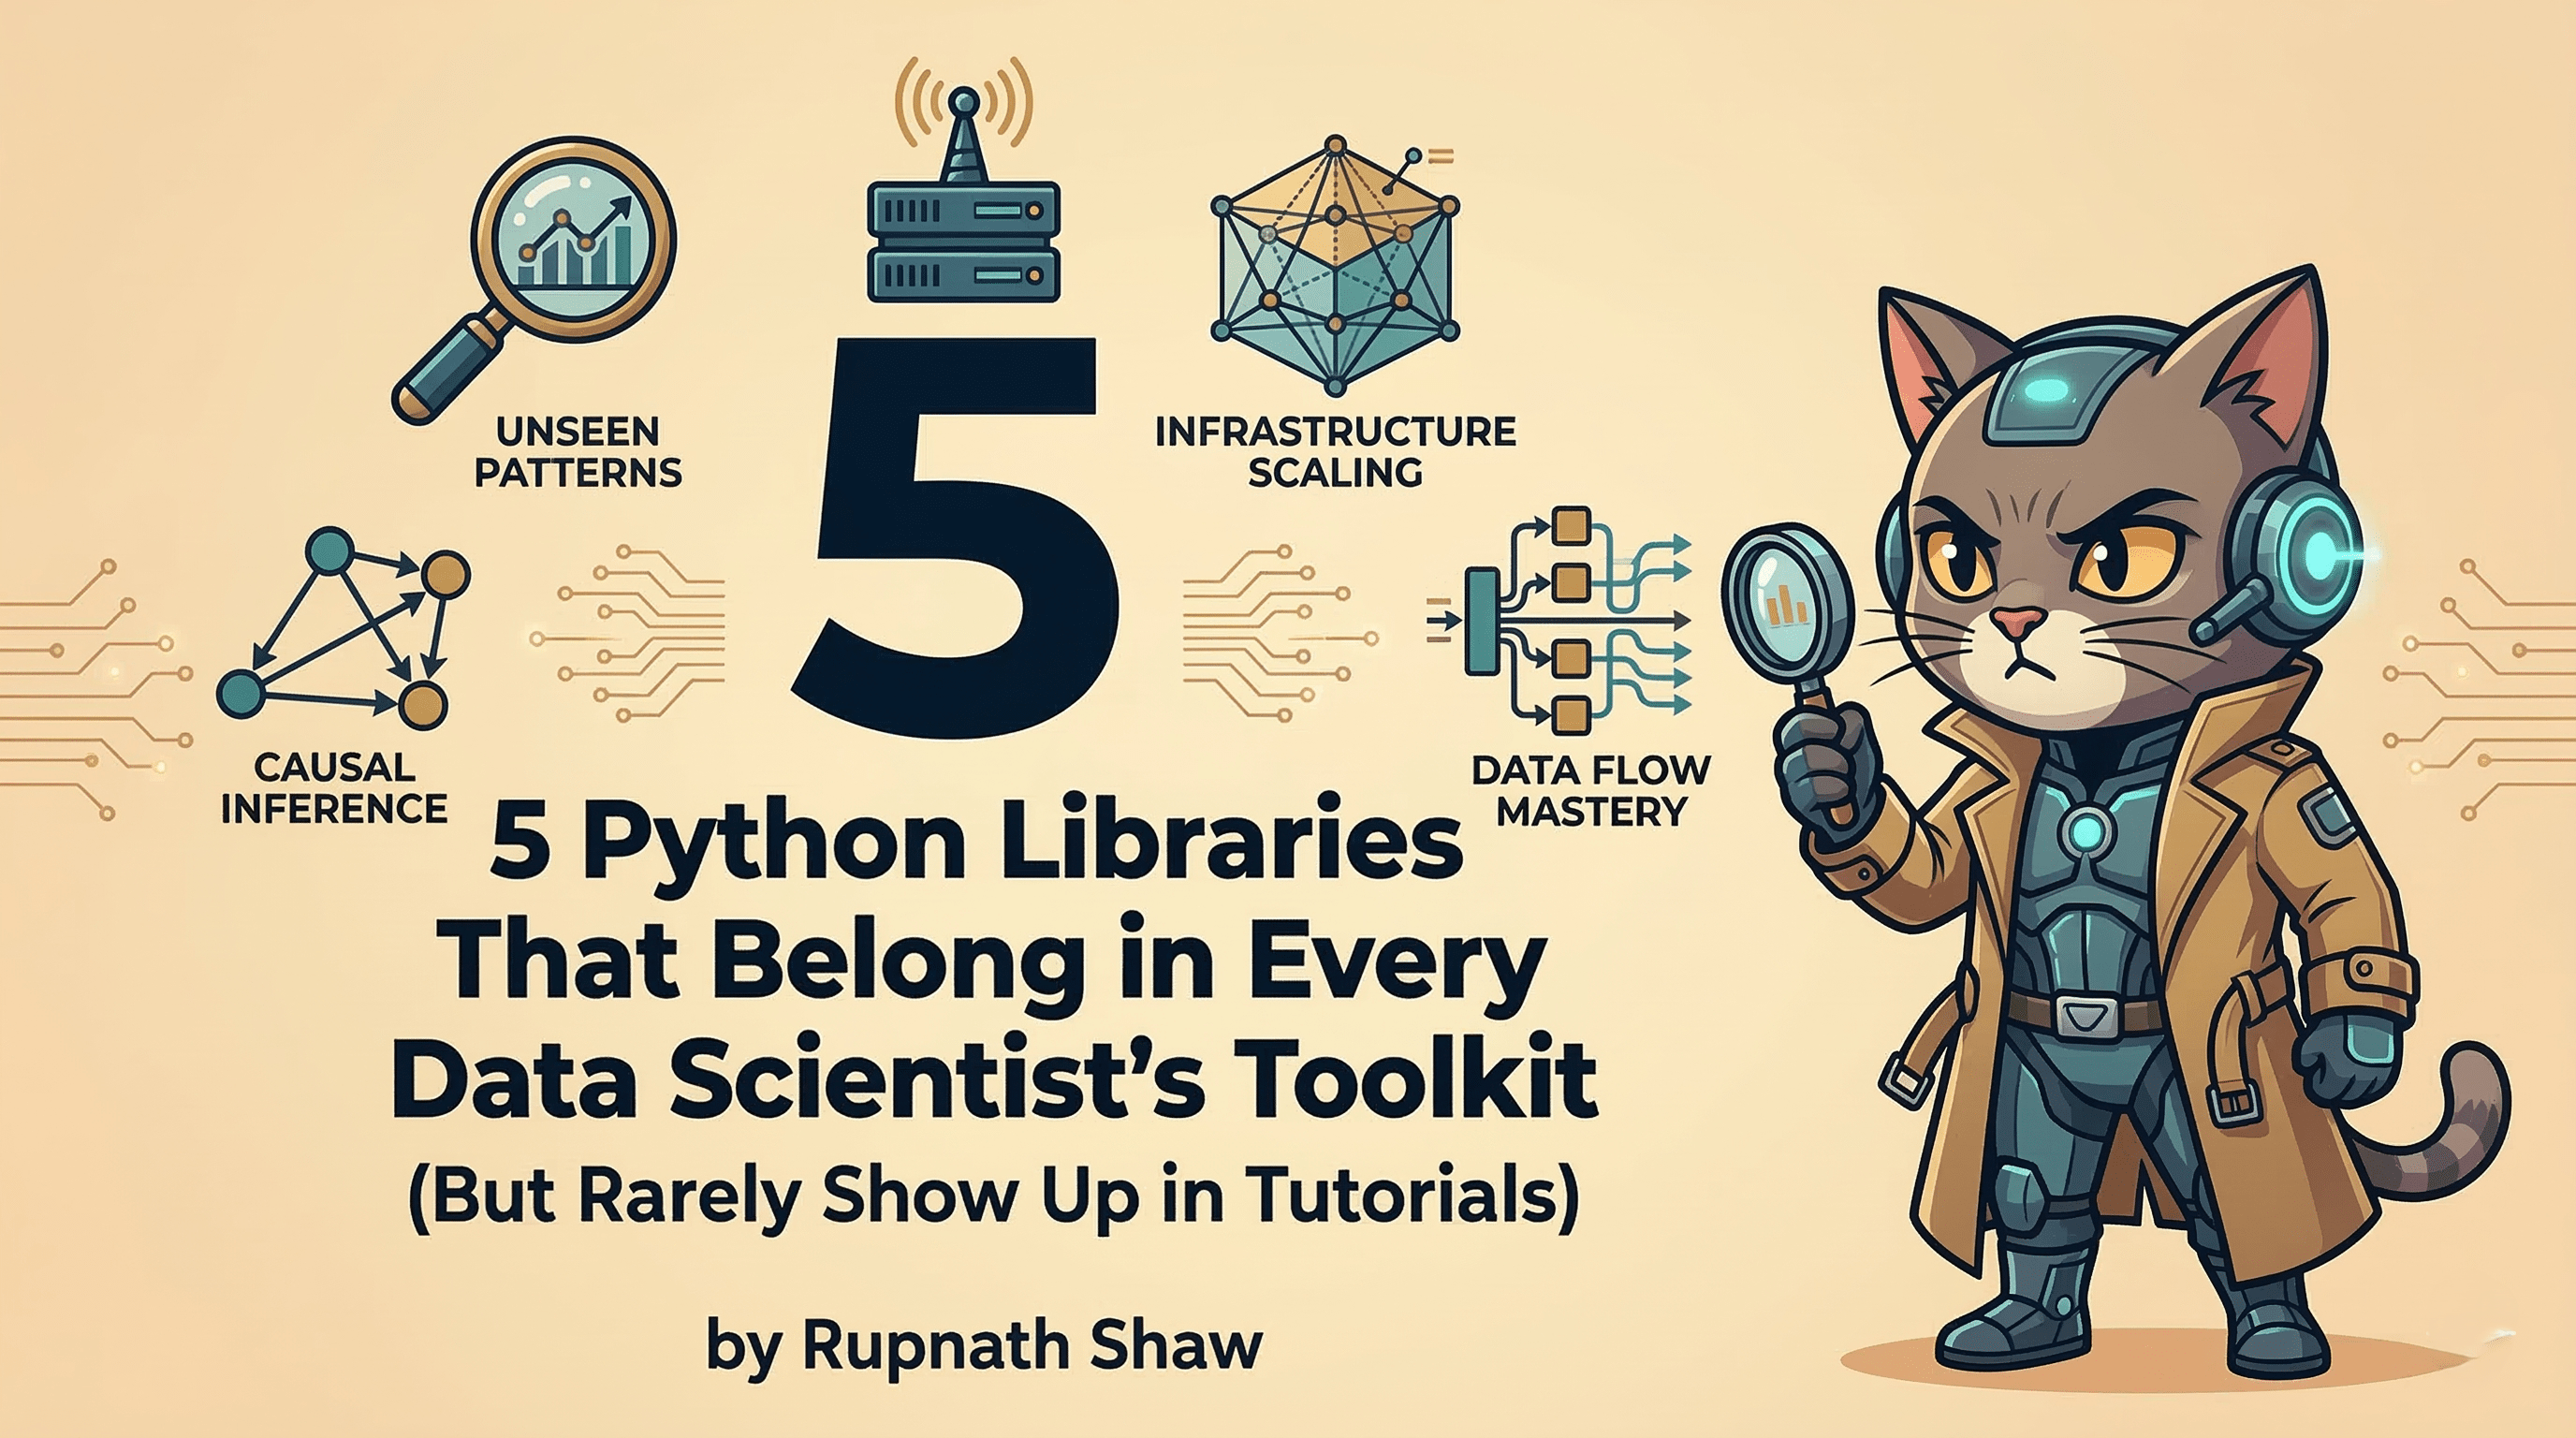
Here are five worth learning this week.
1. missingno python – See Your Missing Data Instead of Counting It
Running df.isnull().sum() tells you how many values are missing per column. It does not tell you whether the missingness is random, clustered in specific rows, or correlated between features.
That distinction matters. When missing data has a pattern, it can bias your model. For example, in medical records, sicker patients might skip questions. In finance, low-value transactions may not get logged. If you impute without grasping this structure, your results can be skewed. missingno makes the pattern visible in one line.
pip install missingno
import missingno as msno
import pandas as pd
df = pd.read_csv("your_dataset.csv")
msno.matrix(df)
The matrix renders white bars wherever values are absent, against a dark background. A quick scan tells you more than a column of numbers ever could. The library also ships with a missingness correlation heatmap and a dendrogram that clusters features with similar gap patterns.
Python Key uses:
• Spotting non-random missing data before imputation
• Identifying columns that consistently go missing together
• Catching data pipeline issues early, before they reach modeling
2. ydata-profiling – A Full EDA Report in One Line
Writing exploratory data analysis code is repetitive work. You check distributions, scan for outliers, look at correlations, count unique values, flag high-cardinality columns. Then you do it all over again on the next project.
ydata-profiling (previously known as pandas-profiling) generates a complete HTML report from a single function call. It does not replace domain-specific analysis. But it handles the standard boilerplate completely.
pip install ydata-profiling
from ydata_profiling import ProfileReport
df = pd.read_csv("your_dataset.csv")
profile = ProfileReport(df, title="Dataset Report")
profile.to_file("report.html")
Open the HTML file. You’ll find:
-
Distributions for each feature
-
Pearson and Spearman correlation matrices
-
Cramér’s V for categorical associations
-
Missing value stats
-
Duplicate row detection
-
Sample data
Everything is well formatted and linked.
Key features:
• Per-column statistics and distribution plots generated automatically
• Alerts for skewed features, high cardinality columns, and zero-variance features
• Side-by-side dataset comparison using compare() – useful for train/test drift checks
• Configurable depth for large datasets to keep generation fast
Where it really earns its place is when a client sends a new dataset and wants an initial read within the hour. You have the report in front of them before you have even opened a notebook properly.
3. featuretools – Stop Writing GroupBys by Hand
This is the one most people have heard of but never tried.
Feature engineering on relational data is tedious. When you have customers, transactions, and products in three tables, writing aggregations by hand can be slow.
You need totals such as:
-
Total spend per customer
-
Average transaction value
-
Number of purchases in the last 30 days
Doing this with SQL and pandas groupby can take days.
featuretools automates this using Deep Feature Synthesis. You define the relationships between your tables, and it generates hundreds of candidate features automatically.
pip install featuretools
import featuretools as ft
es = ft.EntitySet(id="sales_data")
es = es.add_dataframe(dataframe_name="customers", dataframe=customers_df, index="customer_id")
es = es.add_dataframe(dataframe_name="transactions", dataframe=transactions_df, index="transaction_id")
es = es.add_relationship("customers", "customer_id", "transactions", "customer_id")
feature_matrix, feature_defs = ft.dfs(
entityset=es,
target_dataframe_name="customers",
max_depth=2
)
The output is a feature matrix that includes:
-
SUM(transactions.amount)
-
MEAN(transactions.amount)
-
COUNT(transactions)
-
MAX(transactions.date)
These aggregations and their combinations are generated automatically, without needing to write any groupby manually.
You still need to select which features are actually useful. That part does not disappear. Getting 300 candidates in ten minutes is way better than writing them by hand over three days. Plus, you might discover features in the automated output that you wouldn’t have considered on your own.
4. Yellowbrick – Model Evaluation You Can Actually See
Printing a classification report and reading rows of numbers is fine when you know exactly what you are looking for. For everything else, a visual diagnostic is faster and easier to communicate to people who are not reading F1 scores for fun.
yellowbrick wraps scikit-learn models with visualizers that slot directly into your existing pipeline.
pip install yellowbrick
from yellowbrick.classifier import ConfusionMatrix
from sklearn.ensemble import RandomForestClassifier
from sklearn.model_selection import train_test_split
X_train, X_test, y_train, y_test = train_test_split(X, y, test_size=0.2)
model = RandomForestClassifier()
viz = ConfusionMatrix(model)
viz.fit(X_train, y_train)
viz.score(X_test, y_test)
viz.show()
The API is identical to scikit-learn’s .fit() / .score() pattern, so you do not need to change your model code.
Key visualizers:
• ClassificationReport — precision, recall, and F1 as a color-coded heatmap instead of a text table
• ROCAUC — multi-class ROC curves in one plot
• FeatureImportances — ranked horizontal bar chart for tree-based models
• ResidualPlot — predicted vs. actual residuals for regression diagnostics
• ElbowVisualizer — inertia vs. k curve to help pick cluster count for K-Means
The model results do not change. What changes is how quickly you spot where the model is wrong and how easily you can explain it to someone sitting next to you.
5. Optuna – Hyperparameter Tuning That Actually Learns
Grid search is fine on a search space with three parameters and five values each. Anything beyond that and you are either waiting for hours or skipping large parts of the space and hoping you chose the right ranges.
Optuna uses Bayesian optimization to focus trials on the regions that produced good results so far. It does not search randomly. It does not exhaustively try every combination. It learns as it goes.
pip install optuna
import optuna
from sklearn.ensemble import GradientBoostingClassifier
from sklearn.model_selection import cross_val_score
def objective(trial):
params = {
"n_estimators": trial.suggest_int("n_estimators", 50, 500),
"max_depth": trial.suggest_int("max_depth", 2, 10),
"learning_rate": trial.suggest_float("learning_rate", 1e-4, 0.3, log=True),
}
model = GradientBoostingClassifier(**params)
return cross_val_score(model, X, y, cv=3, scoring="accuracy").mean()
study = optuna.create_study(direction="maximize")
study.optimize(objective, n_trials=100)
print(study.best_params)
Key features:
• Framework-agnostic – works with scikit-learn, XGBoost, LightGBM, PyTorch, TensorFlow, and anything else
• Pruning: cuts unpromising trials short so you are not burning compute on bad configurations
• Built-in plots for optimization history and parameter importance
• Supports parallel and distributed trials when you need to scale up
After 100 trials, study.best_params gives you the best configuration found. For most problems, that beats a manual grid search result and gets there in less time.
Wrapping Up
These five libraries cover different parts of the data science workflow, but the pattern is the same across all of them. Each one replaces a task that most practitioners do manually, slowly, and repeatedly across every single project.
- missingno — understand where and why data is missing, not just how much
- ydata-profiling — generate a complete EDA report before you open a notebook
- featuretools — automate feature engineering on relational datasets
- yellowbrick — visual model diagnostics that are faster to read and easier to share
- optuna — smarter hyperparameter search that actually converges
None of them take long to learn. Each one pays back the hour you spend on it within the first project you use it on. Add them one at a time and your workflow will look different by the end of the month.
Read Also:
Data Analyst Bootcamp Online: Best Free Courses, Projects & Certifications In 2025
Lenovo IdeaPad Slim 3: Slim, Stylish, and and Powerful Laptop
Job Notification Join us on Telegram: Click here
Job Notification Join us on WhatsApp: Click here