Hey there, Windows 11 users. If you’re here, it means you’re looking to remove a Microsoft Administrator account from your computer. Whether you’re tidying up user accounts, enhancing your system’s privacy, or addressing specific security concerns, I’m here to guide you through the process with a friendly and easy-to-follow approach.
Let’s dive right into it.
Why Remove a Microsoft Administrator Account?
Before we get into the nitty-gritty of removing an administrator account, let’s talk about why you might want to do this in the first place. Here are some common reasons:
- Enhanced Security: Removing unnecessary administrator accounts can reduce the risk of unauthorized access and potential security breaches.
- Improved Privacy: By limiting the number of administrator accounts, you can better control who has access to sensitive settings and data.
- Simplified Management: Fewer accounts mean easier management of users and permissions on your device.
- System Cleanup: Removing old or unused accounts can help keep your system organized and efficient.
Now that we understand the benefits, let’s move on to the step-by-step guide to remove a Microsoft Administrator account from Windows 11.
Step-by-Step Guide to Remove a Microsoft Administrator Account
There are a couple of ways to remove an administrator account from Windows 11. I’ll walk you through both methods: using the Settings app and using the Control Panel. Follow the method that you find most comfortable.

Method 1: Using the Settings App
- Open the Settings App: Click on the Start menu (Windows icon) at the bottom-left corner of your screen, then select the gear icon to open the Settings app.
- Navigate to Accounts: In the Settings window, click on “Accounts” from the list of options.
- Select Family & Other Users: On the left sidebar, you’ll see various options. Click on “Family & other users”.
- Choose the Administrator Account: Under the “Other users” section, locate the Microsoft administrator account you want to remove. Click on it to expand the options.
- Remove the Account: Click on the “Remove” button. A confirmation prompt will appear, asking if you’re sure you want to delete the account and its data. Click “Delete account and data” to proceed.
- Confirm Deletion: Follow the on-screen instructions to complete the removal process. Once done, the Microsoft administrator account will be successfully removed from your Windows 11 system.
Method 2: Using the Control Panel
- Open Control Panel: Press the Windows key + R to open the Run dialog box. Type “control panel” and press Enter.
- Go to User Accounts: In the Control Panel window, click on “User Accounts”.
- Manage Another Account: Select “Manage another account” from the list of options.
- Select the Administrator Account: Choose the Microsoft administrator account you want to remove from the list of user accounts.
- Delete the Account: Click on “Delete the account”. A prompt will appear, asking if you want to delete the account and its data. Click “Delete Files” to confirm.
- Finalize Deletion: Follow any additional prompts to complete the process. The administrator account will be removed from your Windows 11 system.
Important Considerations Before Removing an Administrator Account
Removing an administrator account can have significant implications, so it’s essential to take some precautions:
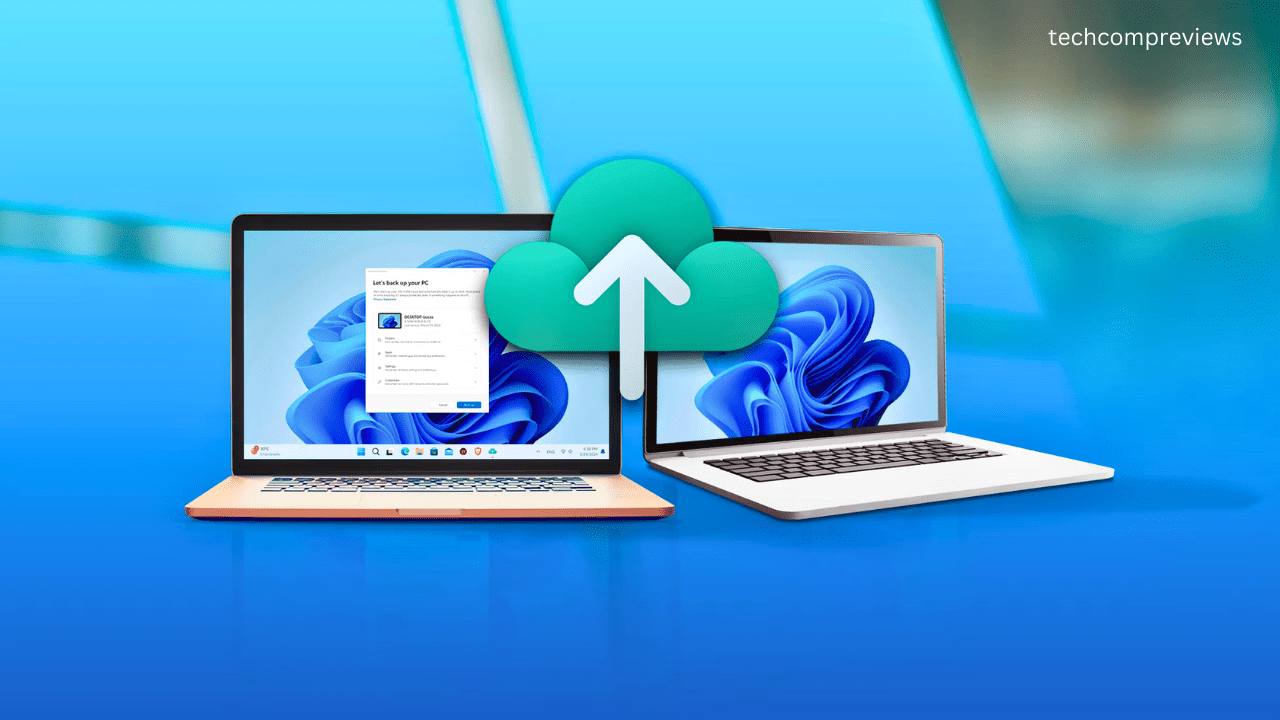
- Create a Backup: Before making any changes, back up important files and data associated with the account you plan to remove. This ensures you won’t lose any critical information.
- Ensure Another Administrator Account Exists: Make sure you have at least one other administrator account on your system. This will prevent you from losing access to administrative privileges and settings.
- Inform Other Users: If the administrator account is shared or used by other people, inform them about the impending removal so they can adjust their settings or data accordingly.
- Disable Automatic Login: If the administrator account is set to log in automatically, disable this feature before removing the account to prevent unauthorized access.
Benefits of Removing a Microsoft Administrator Account
Now that we’ve covered the “how,” let’s revisit the “why” with more detail. Here are the key benefits of removing a Microsoft Administrator account from Windows 11:

Enhanced Security
By reducing the number of administrator accounts, you minimize potential entry points for unauthorized access. Fewer accounts mean fewer targets for hackers and malicious software, thereby strengthening your system’s overall security.
Improved Privacy
Microsoft administrator accounts are often linked to online profiles, which can track your data and actions. Removing these accounts can help protect your privacy by severing this connection and ensuring that your activities remain local to your device.
Simplified User Management
Fewer user accounts make it easier to manage permissions and settings on your system. This can be particularly beneficial if you share your computer with multiple users, as it reduces complexity and potential conflicts.
Increased System Performance
Removing unnecessary accounts can free up system resources, leading to a more streamlined and faster computing experience. This is especially true if the account had multiple apps and processes running in the background.
Peace of Mind
Knowing that your system is clean, organized, and secure can give you peace of mind. You’ll have more control over who can access your computer and what they can do, which can be particularly reassuring in shared or family environments.
Precautions to Take Before Removing a Microsoft Administrator Account
To ensure a smooth and hassle-free removal process, consider the following precautions:
Backup Important Data
Before removing any account, it’s crucial to back up any important files and data associated with that account. You can do this by manually copying files to an external drive or using cloud storage services like OneDrive or Google Drive.

Create Another Administrator Account
If the account you’re planning to remove is the only administrator account on your system, create a new one before proceeding. Here’s how:
- Open Settings: Go to the Start menu and click on the gear icon to open the Settings app.
- Navigate to Accounts: Click on “Accounts” from the list of options.
- Add Someone Else to This PC: Under “Family & other users”, click on “Add someone else to this PC”.
- Create a Local Account: Follow the prompts to create a new user account. Once created, go to “Change account type” and select “Administrator”.
Disable Automatic Login
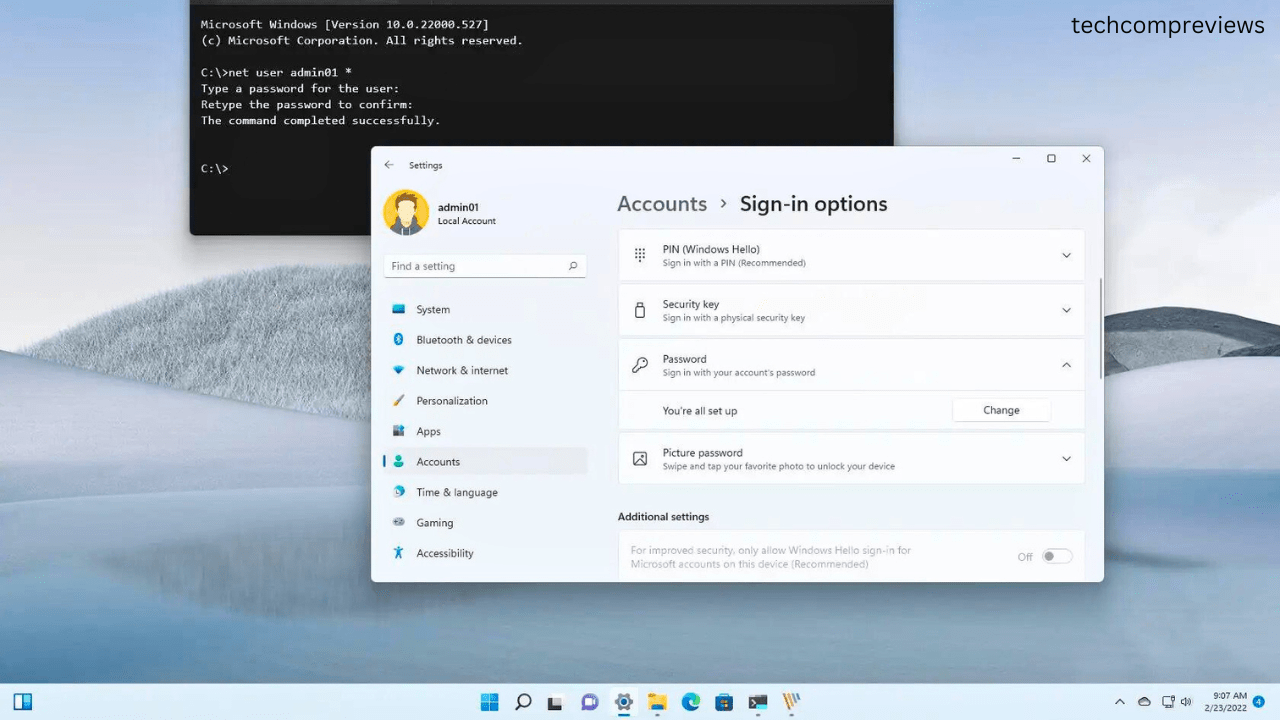
If the administrator account you’re removing is set to log in automatically, disable this feature to prevent unauthorized access. You can do this in the Settings app under “Accounts” > “Sign-in options”.
Inform Other Users
If the account is used by other people, make sure to inform them about the upcoming removal. This gives them a chance to save their data and adjust their settings accordingly.
Troubleshooting Common Issues
Removing a Microsoft Administrator account is generally straightforward, but you might encounter some issues along the way. Here are some common problems and their solutions:
Can’t Remove the Account
If you can’t remove the administrator account, ensure you’re logged into a different administrator account. You cannot delete an account while logged into it.
Account Still Appears After Deletion
Sometimes, an account might still appear in the list of users even after you’ve deleted it. In this case, restart your computer to refresh the system and remove any remnants of the deleted account.
Data Loss
If you accidentally delete an account and lose important data, you can try using data recovery tools like MiniTool Power Data Recovery to retrieve lost files. It’s always a good practice to back up data before making any changes to user accounts.
Conclusion
Removing a Microsoft Administrator account from Windows 11 can enhance your system’s security, privacy, and performance. By following the steps outlined in this guide and taking necessary precautions, you can safely and effectively manage user accounts on your device.
Remember, the key to a smooth experience is preparation. Backup your data, ensure you have another administrator account, and keep other users informed. With these steps in mind, you’ll be able to keep your system clean, organized, and secure.
If you found this guide helpful, feel free to share it with others who might benefit from it. And if you have any questions or run into any issues, don’t hesitate to leave a comment below. Happy computing.
Read Also:
Windows 11 Update: What’s New and Exciting in the Latest Patch?
