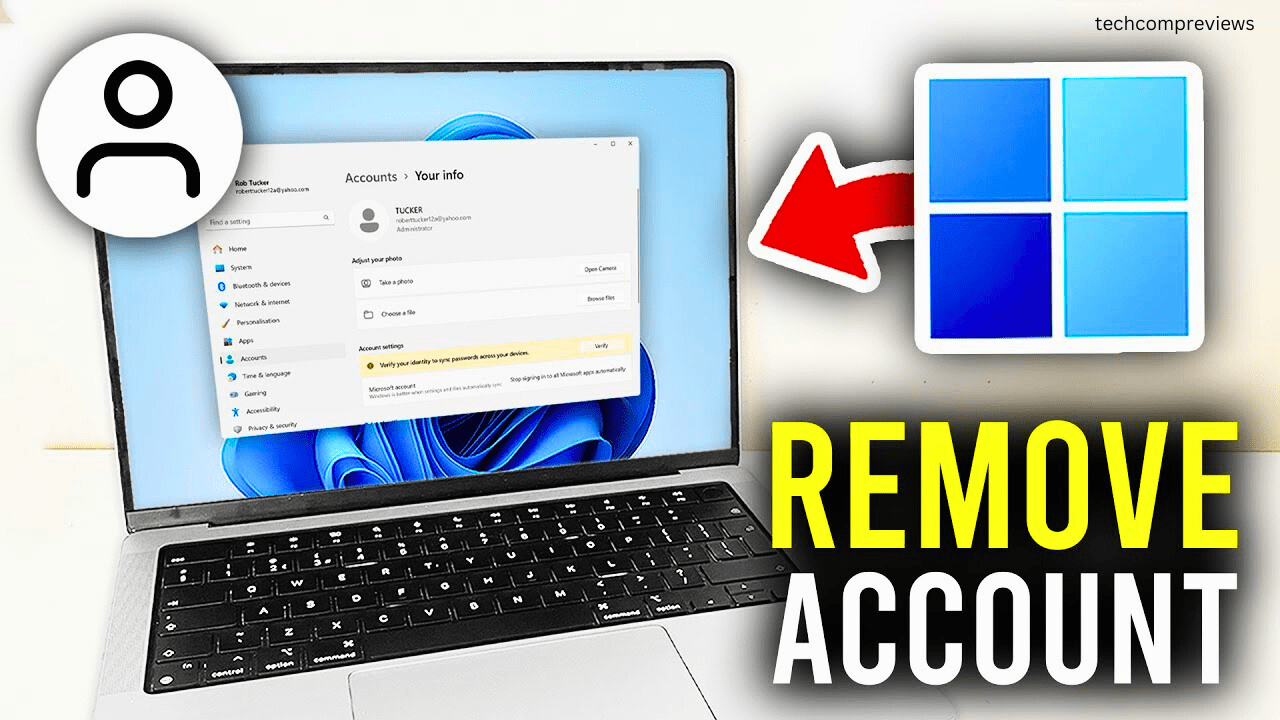
Hey there! If you’re looking to break free from the clutches of your Microsoft account on Windows 11, you’ve come to the right place. Whether you’re aiming to regain some privacy, switch to a local account, or just simplify your digital life, I’m here to guide you through the process step-by-step. Let’s dive in.
Why Remove Your Microsoft Account?
First off, you might be wondering why anyone would want to remove their Microsoft account from Windows 11. There are a few good reasons:
-
Privacy, Please! This one’s a biggie for many. Using a local account means your settings, files, and activities aren’t constantly synced to Microsoft’s servers. If you value your digital privacy and prefer to keep your data close to the chest, going local is the way to go.
-
Offline Accessibility: Ever been stuck without an internet connection and unable to log into your own computer? With a local account, that’s a worry of the past. You’re free to access your files and applications even when you’re offline.
-
Clean Slate for Shared Devices: Sharing a computer? A local account is perfect for creating separate, personalized spaces for each user, ensuring your files and settings remain yours alone.
-
Avoiding Forced Updates: We’ve all been there – in the middle of something important, and bam! Windows decides it’s update time. While Microsoft has gotten better with update flexibility, using a local account gives you a bit more control over when (or if) those updates roll in.
Steps to Remove Your Microsoft Account
Step 1: Switch to a Local Account
Before you can remove your Microsoft account, you need to switch to a local account. Here’s how:
- Open Settings: Hit the Start button, then click on the gear icon to open Settings. Alternatively, you can press
Windows + Ito get there quickly. - Navigate to Accounts: On the left-hand side, click on “Accounts.”
- Select Your Info: Under the Accounts menu, click on “Your info.”
- Sign in with a Local Account Instead: You’ll see an option that says “Sign in with a local account instead.” Click on it.
- Follow the Prompts: Enter your current Microsoft account password, and then follow the prompts to set up your local account. You’ll need to create a username and password for the local account.

Step 2: Remove the Microsoft Account
Once you’re signed in with your local account, it’s time to remove the Microsoft account:
- Open Settings Again: You’re becoming a pro at this by now.
- Navigate to Accounts: Yep, back to the Accounts section.
- Go to Email & Accounts: On the left sidebar, click “Email & accounts.”
- Select the Microsoft Account: Find the Microsoft account you want to remove. It’s usually marked with a Microsoft logo.
- Click Remove: Click on the account and then hit “Remove.”
- Confirm Removal: Windows will ask you to confirm that you want to remove the account. Click “Yes.”
Additional Tips
- Back Up Important Data: Before making any changes, ensure you have backups of any important data linked to your Microsoft account.
- Check Linked Services: If you’re using services like OneDrive, make sure to download or transfer any important files before removing the account.
Benefits of a Local Account
Switching to a local account can bring a few perks:
- Increased Privacy: Less data sent to Microsoft.
- Customizable Experience: Greater control over your settings and preferences.
- Reduced Sync Issues: Avoid problems with cloud syncing and login errors.
Conclusion
And there you have it! Removing your Microsoft account from Windows 11 is a straightforward process that can offer you more control and privacy. Whether you’re aiming for a more streamlined experience or just looking to keep things local, following these steps will help you get there. Happy computing.
Feel free to share your experiences or any tips you’ve discovered in the comments below. If you have any questions or run into any issues, I’m here to help.
Read Also:
How to Remove a Microsoft Administrator Account from Windows 11
Lenovo IdeaPad 5 2-in-1 (14-inch, AMD) Review: A Budget-Friendly Powerhouse
