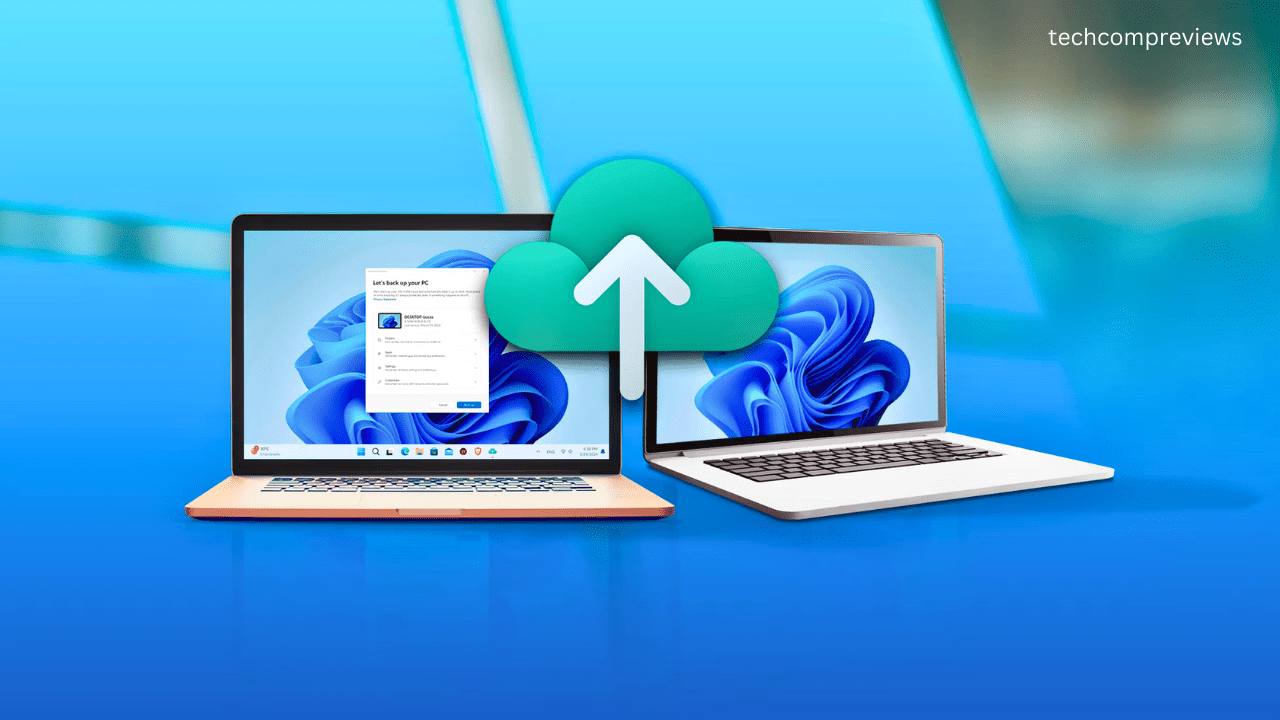
Backing up your PC is like having a safety net for all your precious data and settings. In this guide, I’ll walk you through the various ways you can back up your Windows 11 PC. From using the built-in Windows Backup app to creating a full system image, I’ll cover it all in an easy-to-understand manner. Let’s dive in!
Why You Should Back Up Your PC
Imagine losing all your photos, important documents, or favorite apps due to a system failure or malware attack. Backing up your PC ensures that you can recover your files and settings without much hassle. Windows 11 offers several tools to help you keep your data safe, so there’s no excuse not to have a backup plan in place.
Methods to Back Up Your Windows 11 PC
Windows 11 provides multiple ways to back up your data, each catering to different needs. Here are the four primary methods:
- Using the Windows Backup App
- OneDrive PC Folder Backup
- File History
- Creating a System Image
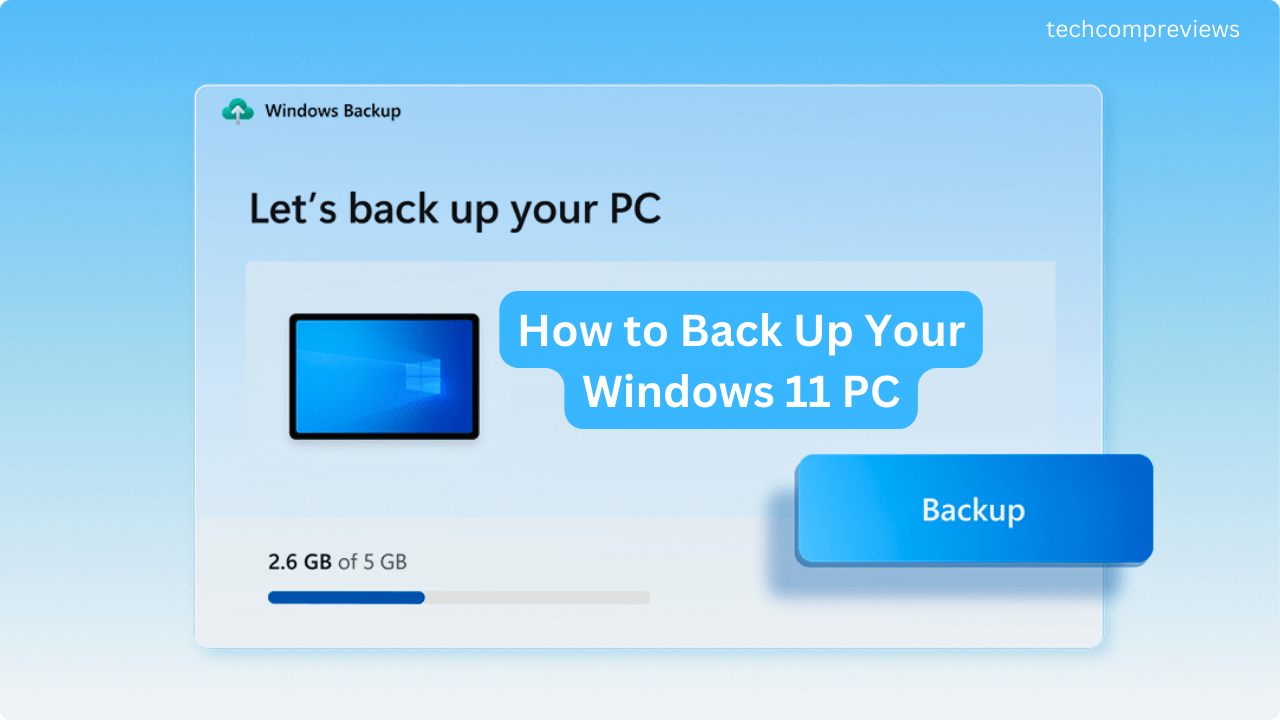
1. Using the Windows Backup App
The Windows Backup app is a new, streamlined way to back up your PC. Powered by OneDrive, this tool allows you to back up critical folders, apps, app preferences, Windows settings, accounts, Wi-Fi networks, and other passwords.
Steps to Use the Windows Backup App:
- Open the Windows Backup App:
- Press the Windows key, type Windows Backup, and press Enter.
- Check OneDrive Storage:
- Ensure you have enough OneDrive storage. This is displayed in the bottom left corner of the app.
- Select Folders to Back Up:
- Expand the Folders section, check the folder sizes, and enable the toggle for the folders you want to back up.
- Start the Backup:
- Click Backup, and Windows will start backing up your files and preferences.
This method is great if you prefer cloud storage and have a Microsoft 365 subscription that includes OneDrive.
OneNote vs Evernote: Which Note-Taking App is Better?
2. OneDrive PC Folder Backup
If you prefer a more traditional method, you can use the OneDrive app to back up your files. This method allows you to automatically back up folders like Desktop, Documents, Music, Pictures, and Videos.
Steps to Use OneDrive PC Folder Backup:
- Install OneDrive:
- If OneDrive isn’t already installed, download and install it from the Microsoft website.
- Open OneDrive Settings:
- Click the OneDrive cloud icon in the system tray, then select Help & Settings > Settings.
- Manage Backup:
- In the Sync and Backup tab, click Manage Backup.
- Select Folders to Back Up:
- Toggle the folders you want to back up and click Save changes. The backup will start automatically.
Once the backup is complete, your files will sync across all your Windows 11 devices and be accessible via OneDrive on the web.
3. File History
File History is another robust tool for backing up your files. This method allows you to back up individual files and folders to an external HDD or SSD.
Steps to Use File History:
- Connect External Storage:
- Connect an external HDD or SSD to your PC.
- Open Control Panel:
- Press the Windows key, type Control Panel, and press Enter.
- Navigate to File History:
- Switch to Category view, then go to System and Security > Backup and Restore (Windows 7).
- Turn On File History:
- Select File History from the sidebar, ensure your external drive is listed, and click Turn On.
- Configure Settings:
- Use Exclude Folders to specify which folders not to back up. You can also adjust how often backups occur in Advanced Settings.
File History continuously monitors changes in your selected folders and keeps the backup updated as long as the external drive is connected.
How to Connect AirPods to Apple Watch: A Complete Guide
4. Creating a System Image
Creating a system image is the most comprehensive way to back up your PC. This method creates a complete snapshot of your system, including all applications, settings, and files.
Steps to Create a System Image:
- Connect External Storage:
- Connect an external HDD or SSD to your PC.
- Open Control Panel:
- Press the Windows key, type Control Panel, and press Enter.
- Navigate to System Image:
- Go to System and Security > Backup and Restore (Windows 7).
- Create System Image:
- Click Create a system image from the sidebar.
- Select Backup Location:
- Choose the external drive, a DVD, or a network location as the destination for the backup, then click Next.
- Select Drives:
- Choose the drives you want to include in the backup and click Next.
- Start Backup:
- Click Start Backup. The process may take a while, depending on the amount of data.

Restoring from a System Image:
- If Your PC is Bootable:
- Connect the external drive with the system image.
- Go to Start > Settings > System > Recovery.
- Click Restart now under Advanced startup.
- Select Troubleshoot > Advanced options > System Image Recovery.
- If Your PC is Not Bootable:
- Boot from the Windows 11 installer.
- Select Repair your computer > Troubleshoot > System Image Recovery.
- Follow the on-screen instructions to restore from the system image.
Additional Tips for Backing Up Your PC
1. Use Multiple Backup Methods
It’s always a good idea to use more than one backup method. For example, you can use OneDrive for cloud backups and File History for local backups. This way, you have redundancy in case one backup method fails.
2. Regularly Update Your Backups
Set a schedule to regularly update your backups. This ensures that any new files or changes to existing files are included in your backups. Both File History and the Windows Backup app can be configured to update automatically.
3. Test Your Backups
Periodically test your backups by restoring a few files. This ensures that your backups are working correctly and can be restored when needed.
4. Keep Your Backup Drives Safe
Store your external backup drives in a safe place. If possible, keep one backup offsite (e.g., at a friend’s house or in a safety deposit box) to protect against theft, fire, or other disasters.
How to Update Drivers on Windows 11
Conclusion
Backing up your Windows 11 PC is crucial for protecting your data from unforeseen events like hardware failures, malware attacks, or accidental deletions. Whether you choose to use the Windows Backup app, OneDrive, File History, or create a system image, having a backup plan in place gives you peace of mind knowing that your data is safe.
Remember, the best backup strategy often involves using multiple methods to ensure redundancy. Regularly update and test your backups to make sure they are working correctly. With the tools and steps outlined in this guide, you can easily set up a robust backup system for your Windows 11 PC.
Now, go ahead and start backing up your data today! Your future self will thank you.
If you have any questions or need further assistance, feel free to drop a comment below. Happy backing up.
Read Also:
Acer Chromebook Plus 516 GE Review: A Gaming Chromebook (2024)