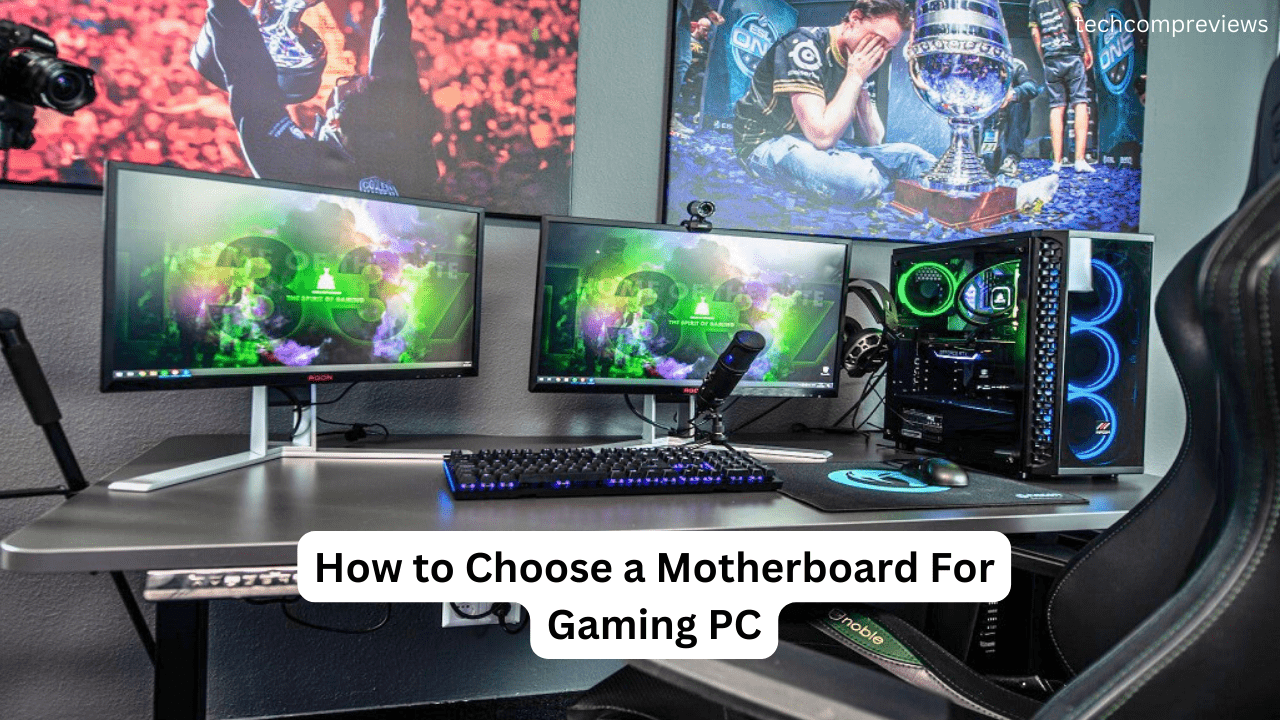
Hey there! If you’re diving into the world of PC building, one of the most critical decisions you’ll make is choosing the right motherboard. It’s the backbone of your computer, connecting all the essential components and ensuring everything works harmoniously. Here’s a friendly guide to help you navigate through the process and pick the perfect motherboard for your needs.
1. Understand Your Motherboard Budget
First things first, figure out how much you’re willing to spend. Motherboards come in a wide range of prices, from budget-friendly options to high-end models packed with features. Here’s a quick breakdown:
- Basic (Under $150): Ideal for everyday tasks and light gaming. These usually have fewer features but are perfect for a no-frills setup.
- Mid-Range ($150-$250): Great for gamers and multitaskers, offering better connectivity and more robust performance.
- High-End ($250 and above): Designed for enthusiasts and professionals, these boards come with advanced features, superior build quality, and extensive overclocking capabilities.
2. Choose Your CPU
Your choice of CPU will significantly influence your motherboard selection. Decide whether you’re going for an Intel or AMD processor. Each CPU requires a specific socket type, so you’ll need a motherboard that matches it.
- Intel Sockets: Common sockets include LGA 1200, LGA 1700 (for newer generations), and LGA 1151.
- AMD Sockets: Popular sockets are AM4 and the newer AM5.
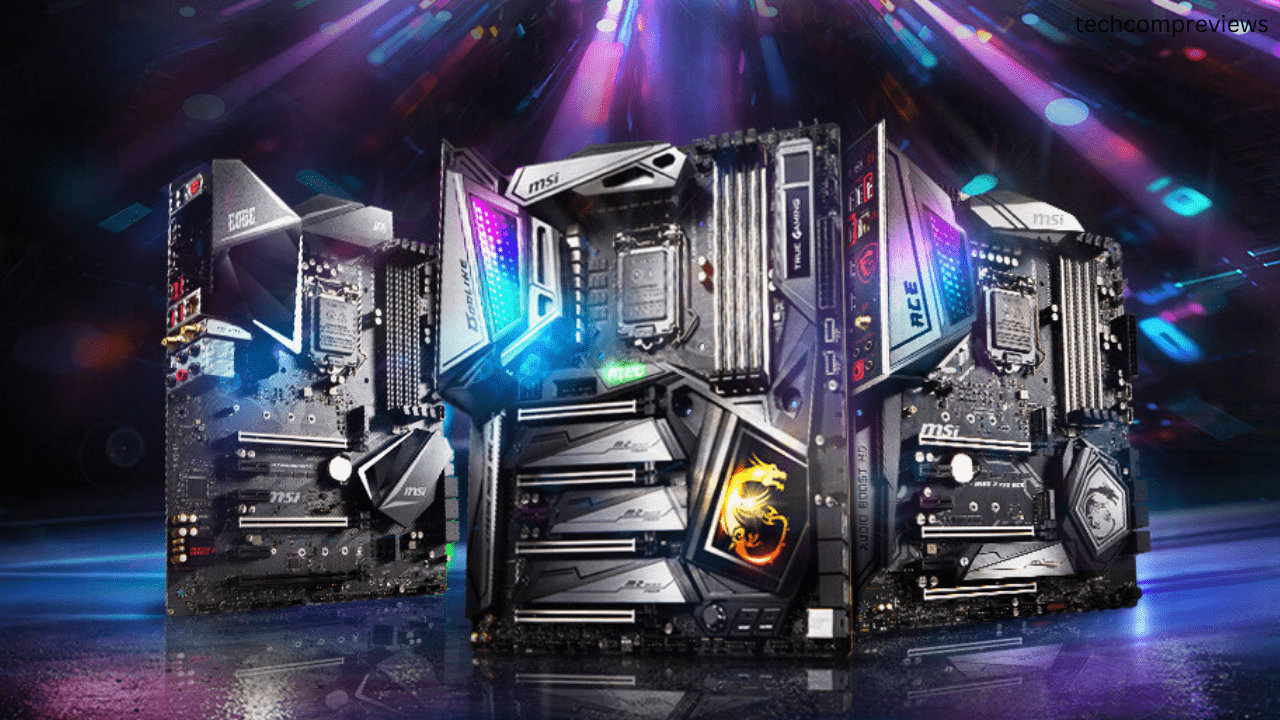
3. Pick the Right Chipset
The chipset on your motherboard determines the features and capabilities it will support. Here’s what you need to know:
- Intel Chipsets: For example, H510 and H610 are entry-level, B560 and B660 are mid-range, and Z590 and Z690 are high-end.
- AMD Chipsets: A520 and B550 are great for mid-range builds, while X570 and the upcoming X670 are suited for high-end setups.
4. Select the Form Factor
Motherboards come in various sizes, known as form factors. Your choice will depend on your case size and the number of components you plan to install.
- ATX: The most common size, offering plenty of expansion slots and features.
- Micro-ATX: Slightly smaller, fitting into more compact cases but with fewer expansion options.
- Mini-ITX: Ideal for small form factor builds, but with limited expansion slots.
5. Consider Expansion and Connectivity
Think about the expansion ports and connectivity options you’ll need. Here are some key points:
- PCIe Slots: Essential for adding graphics cards, sound cards, and other expansion cards. Most modern motherboards support PCIe 4.0 or even PCIe 5.0.
- RAM Slots: Check how many RAM slots are available and the maximum amount of RAM the motherboard supports. For gaming and heavy multitasking, 16GB or more is recommended.
- Storage Options: Look for multiple SATA ports and M.2 slots for SSDs. NVMe M.2 drives offer blazing fast speeds, so having at least one M.2 slot is a good idea.
- Built-in Ports: Ensure the motherboard has enough USB ports (both Type-A and Type-C), HDMI or DisplayPort for video output (if you’re using an integrated GPU), and audio jacks.
6. Check for Built-in Features
Modern motherboards come with a plethora of built-in features that can save you money and simplify your build:
- Wi-Fi and Bluetooth: If you need wireless connectivity, look for motherboards with built-in Wi-Fi and Bluetooth.
- Ethernet Ports: A good motherboard will have a reliable Ethernet port for wired internet connections.
- Audio: Onboard audio is pretty standard, but some motherboards offer higher quality audio components for a better listening experience.
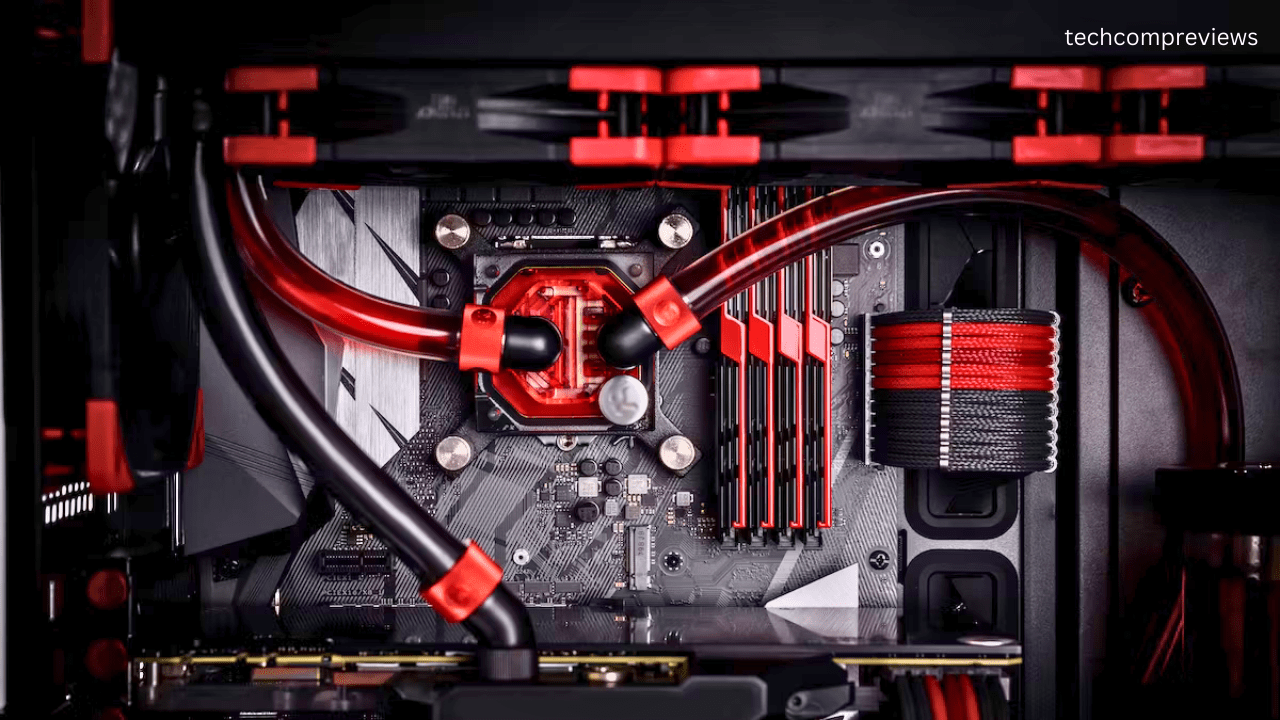
- Cooling Solutions: If you plan to overclock, ensure your motherboard has good cooling options and robust power delivery.
7. Future-Proofing Your Build
Lastly, think about the future. Technology evolves quickly, and you might want to upgrade components down the line. Choosing a motherboard with the latest standards (like PCIe 5.0, DDR5 support, and USB 3.2) can keep your build relevant for longer.

Installing Your Motherboard
Once you’ve chosen your motherboard, it’s time to install it. Here’s a brief rundown:
- Prepare Your Workspace: Ensure a clean, static-free environment.
- Install the CPU and RAM: It’s easier to install these components before placing the motherboard in the case.
- Mount the Motherboard: Secure it to the case with screws, ensuring all standoffs are correctly positioned.
- Connect Power and Data Cables: Attach the power supply cables, storage devices, and any other necessary connections.
- Install Expansion Cards: Insert your graphics card and any other expansion cards into the appropriate slots.
Final Thoughts
Choosing the right motherboard might seem daunting, but breaking it down into these key factors can make the process much easier. Remember, the best motherboard for you will depend on your specific needs, budget, and future plans for your PC. Take your time, do your research, and don’t hesitate to ask for recommendations from the PC building community. Happy building.
Read Also:
The Best MSI MAG 341CQP Monitor For Gamers AND Creators Review
GPT-4o vs. Gemini 1.5 Pro: Which AI Model is Better?